Thursday, December 26, 2013

Christmas Tag - 2013

This is the Christmas Tag that I made for my friend Linda. I heat embossed the stamped frame and cut it out and then coloured Santa and glued it under the frame. I added a patterned paper background to the tag and popped up the framed Santa. I then added several embellishments - lace, flowers, stickers, ribbon. punched branches. I used distress ink in vintage photo to sponge each piece to give it the vintage look.
I hope you all had a wonderful Christmas and holiday season.  :D

Monday, December 23, 2013

Christmas Cards - 2013


My friend Linda brought over some of her patterned papers and we designed some Christmas cards. These are three of the designs I made. We stamped the snowflakes and I added some glimmer paint to make them shine. There was also one paper filled with sentiments so we cut some out and added them. We used shiny grey-blue cards to match the patterned papers. It was fun and challenging finding different ways to use the patterned papers.
I would like to wish you all a wonderful holiday season and Merry Christmas to those who celebrate it!
Much love. :D

Wednesday, December 18, 2013

Christmas Cards - 2013

Here is one of the Christmas cards that I made this year.  The main image was mounted with patterned paper and the tree and sentiment were stamped and decorated with stickles.
Here is another one with a different tree stamp.


I hope your Christmas creations are almost finished! :D

Thursday, November 21, 2013

Business Card Art - Smile!

I had a lot of fun creating this tiny art card. I used some of the little pieces of scraps that were sitting on my art table. I collaged them on and then added some doodling, glitter, bling, stickles and one foam letter. It's just amazing what you can do with your garbage!!! *LOL*
I had to add the word smile because that's what I was doing as I created this. :D
Have a wonderful day!

Tuesday, November 19, 2013

Business Card Art - Laugh

I'm having fun with the tiny art cards I'm doing on my old business cards. This one is really recycled! Not only is it on the old business card, but I covered it with some wrapping paper that was on a gift I received. Then I doodled and wrote the word laugh and added some sparkle with glitter pens. Unfortunately the glitter doesn't show in the photo.
I'm trying to come up with an idea of what to do with these tiny creations. I'd love to hear from you if you have any good ideas for me. :D Thanks!

Friday, November 15, 2013

Business Card Art - Oak Leaves and Acorns

Here is another small art piece done on a business card. The card was first painted with gesso. Then when the gesso was dry I made the crackle background by applying white glue to the card and then green acrylic paint over the wet glue. Then I let it dry and it crackles. I stamped, coloured and cut out the leaves and acorns and glued them to the card. I outlined the leaves with a white PITT pen.
Thanks for looking. Let me know if you try some tiny art.  :D

Wednesday, October 30, 2013

Halloween Bookmark - Spooky


This is a bookmark that I made for Halloween with stamping, sponging and markers. So much fun! Then I laminated it and added ribbons and fibers tied at the top. I just love Halloween images!
I hope you have a fun, spooky Halloween!  :D

Tuesday, October 29, 2013

Business Card Art - Halloween

I have a large amount of old business cards. I decided that I would use some of them for some small art cards. For the background on this card I crinkled up some foil wrap and then smoothed it out and glued it to the card base. I painted over the foil with purple acrylic paint and when it was dry, I sanded off some of the paint. I sanded more off around the moon to give it a glow. I stamped and coloured the cute Halloween characters and cut them out and glued them to the card base.
Happy Halloween!!!! :D

Monday, October 21, 2013

Art Journal inspired by Finnabair

I went to a workshop at The Art House Studio in Cambridge. The teacher was Ania Dabowska (aka Finnabair or just Finn) who is from Poland, but now lives in Ireland. She taught us her method and style of creating the front cover for this art journal. It was a fun and interesting class.
We also decorated the back cover. I made mine with less dimension so that it could lay flat. Here is the back cover for my journal.


We did 4 pages on the inside and after working all day, we ran out of time and energy! We went home tired and happy. I thoroughly enjoyed this workshop. It's fun to learn new techniques and styles.

Wednesday, October 16, 2013

Nativity Christmas Card - Side Step Card

This Christmas card is folded in the side step way and will sit up on its own. The angel stamp is from Anita's. The nativity stamp is from Serendipity Stamps. The candles stamps is from Inkadinkado. The sentiment stamp is from Stampin Up's Come to Bethlehem set.
The images were stamped in black archival ink and then coloured with pencil crayons and then adhered to the side step card base.
Are you getting any Christmas cards made yet? I have a few done.
Take care! :D

Friday, October 4, 2013

Stampscapes - Tri-fold Card - Lakeside View

This is a tri-fold shutter card that I made for my friend a while ago. The instructions for this style of card can be found on Splitcoaststampers or you tube. I decided to make a scene for this type of card using my stampscapes stamps. I cut all the pieces of white glossy cardstock to fit each space of the card and then I laid them down in place like a puzzle and stamped my scene using black archival ink. When the ink was dry, I then added colour using stipple brushes and dye inks.

Below is the card stretched out so that you can see the scene.


And below here is the card folded up and ready to go into an envelope.


These cards are intricate to do but look great when they are standing up in 3-D. Some people make the scene first and then cut it up into the correct size pieces. I chose to do it differently to make each element fit into each space.
Take care! :D

Saturday, September 28, 2013

Gelli Journal - String Tree

I made an art journal from box board, like cereal boxes. I gessoed the pages front and back and then I did gelli printing on them. For these two pages I brayered my paint onto the gelli plate, and then I put string down in a tree pattern. The first print was the one on the right which shows the shape of the tree. Then I took the string off of the gelli plate and printed the second print on the left which gave a fantastic print of the string. Click the picture to see a close-up of the string. Gelli printing can be way too much fun! :D

Thursday, September 26, 2013

Thank You Card - Masking tape colour transfer

Hello!
I made this card using the masking tape colour transfer. I used glossy cardstock. I took a piece of masking tape and patted it into my ink pad and then laid it onto the glossy cardstock to transfer the ink to the card. I did this with three colours of ink. Then I stamped my images and sentiment with black archival ink and, voila, my card front was ready to be mounted.
This was a fun new technique for me. Why don't you give it a try?
Have fun!!!! :D

Monday, September 23, 2013

Dear Friend Card

This is a card that I made using patterned paper for the background and colouring the main image to match the teal coloured accent paper. I really liked how the teal cardstock looked with the black and white paper. The "ribbon" was made using the coloured cardstock and drawing stitch marks on it with a black marker.
I hope you enjoy this and will try one for yourself.
Have a great day. :D

Thursday, September 12, 2013

Art Journal - Fun with Watercolour + Drawing

I started this page by watercolouring the rectangles all over the page. After it was completely dry, I began to draw with black pitt pens.  I stamped the ghost and the fireworks burst but drew all the rest of the images and frames. I took some of my inspirations from some zentangle books that I have called Zenspirations and Yoga for the Brain. Then I added in some details with white pencils and pens and stickles.
Click on the photo if you want to see the drawings up close.
I really had fun doing this page and hope to do more in a similar fashion.
Have a fabulous day! :D

Tuesday, August 27, 2013

Stampscapes card - Hula Dancers #1

This is a stampscapes scene that I stamped on watercolour paper and painted with watercolours. The hula dancers are by Inkadinkado. I coloured the hula dancers with markers. I stamped three different scenes with the hula dancers so that is why this card is #1.
A Hawaiian vacations sounds like a great idea right now doesn't it? :D
Take care and do the hula!

Thursday, August 22, 2013

Zentangle Inspired Art - Birthday Card


I drew this card front and copied it so that I could use it again and colour it to match whatever colour card  that I want. I drew some zentangle patterns and also included a Lilah Bean (the small child-like figure) from the books by Sandra Steen Barthlolomew. I find that I like to add Lilah Beans to a lot of my tangle and art journal pages. They are just so cute and happy.
I now want to create different card fronts using tangle patterns and doodling designs that I can use over and over. Why don't you try one? :D
Please leave a message and let me know that you stopped by. Thanks.

Tuesday, August 20, 2013

Tree Art Journal - Birds on a Branch


I started this page by stamping some leaves in versamark and then rubbing pan pastels over top. Then I used a stencil and pan pastels for the birds on the branch. After that I did some more stamping with inks on the background and drawing and doodling with black fine line markers. I also coloured in the birds and branches with markers. I've always loved the autumn colours. I guess we will be seeing much more of that soon.
Enjoy what's left of summer! :D

Friday, August 16, 2013

Art Journal - Home Time


On this journal page I was painting the page to use up some extra paint when I saw a house shape emerging. So I went with it and painted this simple scene. It's fun to see what speaks to you on a page when you are just slapping down some paint.
Give it a try and show me what you make! :D I'd love to hear from you.
Have fun!!!!

Monday, August 12, 2013

Art Journal - Painted Face

Here is a face that I painted using only a paintbrush and watercolour paint. I did not draw it with a pencil first. It is a  little rough as I wanted it to look very spontaneous, which it was! *L*  I am enjoying trying to learn to do faces and I will keep practicing. I also want to try the faces at different angles. Wish me luck! :D

Wednesday, July 31, 2013

Art Journal - Flowing Locks

I did this painting in my art journal that has kraft coloured paper. I drew the girl and then painted her with water colour paints. I'm very new to doing faces and I still have to learn how to shade them properly. I'm not going for a realistic photograph style here as you can see, but a more whimsical style.
I'll keep practicing! :D

Tuesday, July 30, 2013

Art Journal - Falling Leaves


Here is another page in my art journal where I was using up paint from another project. I painted it quickly and with abandon. It is so freeing to work this way with no particular care of the outcome, just a joy in the moment. So much fun!!! You should try it. :D
Take care!

Sunday, July 28, 2013

Art Journal - Cypress Trees Van gogh Style


Hello!
On this art journal page I was connecting with my inner Van gogh.  *L* I was also trying to use up some paint from another project. I painted the cypress trees and made a wild sky for fun. It is very freeing to paint with abandon like this. I figure anything goes in an art journal so just play!!!!! Hope you like it!

Have fun! :D

Wednesday, July 24, 2013

Art Journal - Leaf Prints

I did some leaf printing while I was away at the lake. I got some leaves from a beautiful flowering bush and sorry that I don't know the name of the bush. I then applied different colours of paints to the back side of the leaves, which had the prominent veins. I printed the leaves several times all over the page.
It was so much fun that I got another art journal that has kraft paper pages and did some more.

It's fun to use things from nature in your art journals. I'm not sure if I'll add to these pages in the future or not. I think they are beautiful just as they are now. What do you think? What would you do with these pages? :D

Friday, June 21, 2013

Gelli Journal 2013 - Front Cover

Hello!
This is the front cover of one of my Gelli Journals that I made. Each page was made from cardboard from cereal boxes, cracker boxes, etc. I gessoed both sides of the cardboard and then did gelli printing on each side. I made my own gelatin plates just to try it out to see if I liked making the monoprints. I did! I had a blast. So now I am the proud owner of a Gelli Plate.
I used my Dylusions stamp for the girl on the front cover. I collaged some patterned paper and lace, then did some stamping and colouring onto the background. I cut out the girl and collaged her on  last. Then I wrote the title with a black fine line marker.
I found the recipe for the gelatin plates on You Tube. They are easy to make but do tend to crack with lots of use.
Take care and have a fun and creative day. :D

Tuesday, June 11, 2013

Art Journal - Fabulous Fishies

This is an art journal page that I did in my junk journal. I got a new stamp set at Scrapfest in Kitchener, Ontario, Canada in April. The stamp set is called Rock Pool by Clear Stamps Kaiser Craft. The stamps are underwater plants and a shell. I stamped the background images using coloured markers. Then, because I had no fish stamps, I got out my black pitt pen and drew some fishes on the newsprint mat I had under my work. I painted the fish and cut them out. I glued them down onto the background that I had created.
I hope you have a fabulous day! :D

Thursday, May 23, 2013

Art Journal Page - Never Give Up

I created this page in my Healthy Lifestyle Journal.  I used a stencil to paint the flowers with gesso and then I coloured them with gel pens. The background is patterned paper with paint stippled through different stencil designs. I did the title with a letter stamp set and coloured the letters in with markers. I used gesso to paint through a stencil to make the rectangles for the smaller words. The butterflies are stickers.
I never want to give up on being healthier......(and losing some weight!)
Here's to good health! Never take it for granted. :D

Tuesday, May 14, 2013

Birthday Card - The Big 4-0


This is the birthday card I made for my first-born daughter.  40????? Wow, time sure flies!

The background was made with a cuttlebug folder with ink on the debossed side. The colour doesn't show very well in the photo. I used the Dyan Reaveley Dylusions stamp set called Curious Corrin for the girl. I stamped her and coloured her in with markers and stickles. I did the same for the crown and glued that to her head. I attached her to the background with pop-dots. Then I added a piece of patterned paper to the side and then the sentiment.

Happy Birthday to my beautiful daughter!  :D

Monday, May 6, 2013

Art Journal - Fantasy Berry Bird

 This is a mixed media art journal page done in my handmade box board journal. The background was done on the homemade gelatin plate. The bird was drawn on patterned paper and cut out and collaged onto the background.  I did some stamping and applied some washi tape and texture paste to the background as well as adding some more paint through punchinella. I doodled the details on the bird with markers.
I would like to thank my son-in-law Mat for helping me learn how to add photos to this blog on this new computer. :D

Friday, April 19, 2013

I'm back! Yay! .....sort of....

Hello!
I had to get a new computer so I am back in business here. I'll post some new art real soon!  :D

Hmmmmm....can't figure out how to get to my photos on this new computer program. Arrghhh!!! I'll keep trying! I hope to see you soon.

Monday, April 15, 2013

My blog is broken again.....:(

Hello friends,
I'm sorry it has been so long since I have posted. My blog will not let me post any pictures. I'm not even sure if this post will appear. I will try to find out how to get this fixed. It's becoming rather frustrating!
I hope to see you on here again soon.
Take care and enjoy creating! :D

Wednesday, March 27, 2013

Stampscapes Bookmarks


These are two bookmarks that I made creating the scenes with several stampscapes stamps. The images are stamped with black Archival ink and then the ink colours are applied with stipple brushes and markers.
I love to give bookmarks away and I love to have several for myself.
Happy stamping and reading! :D

Friday, March 22, 2013

Box Board Art Journal - Make the most of every day.


 I made an art journal from box board from things like cereal boxes, cracker boxes etc. On this page I gessoed the background and then sprayed Dylusion Ink Sprays and let them drip. When that was thoroughly dry, I doodled a border with a black sharpie marker. Then I wrote the words with a white paint pen and outlined them with the sharpie marker.
I have been busy doing gelatin prints on many of the other box board pages using my homemade gelatin plates. I loved it so much that I went and bought a Gelli Plate. I haven't tried it yet, but I'm looking forward to it. So you will see more boxboard art journal pages to come.
Have a great day and keep creating! :D

Thursday, March 14, 2013

Gift Bag and Matching Tissue Paper


Hello! These pictures show the front and back views of the gift bag that I decorated for a baby shower that I went to. I used a plain white gift bag and laid a 12"x12" stencil over it and sprayed with two colours of spray inks. Then I took the white tissue paper and sprayed the two colours on it too to match the gift bag. Voila! I love how it turned out!
What do you think? Let me know.
Have a happy day! :D

Monday, March 11, 2013

Baby Shower Card - Heaven Sent


I made this card for a baby shower that I attended. I used a Cuttlebug Folder called Kimberly's Card for the pink cardstock background. The baby stamps are from Stampin Up's "Baby Firsts" set. I stamped and coloured the babies and then punched them out and inked the edges. I popped them up on pop dots. I just love the crying baby stamp. It makes me laugh.
Tomorrow I'll show you the gift bag I decorated for the present.
Take care! :D

Thursday, February 28, 2013

Altered History Book Art Journal - Experience the World


This is a two page mixed media spread that I did in my Altered History Book Art Journal. I used ideas from several different tutorials on You Tube as well as my own ideas. For the background I followed a You Tube video that I saw on Pinterest called "Art Journal Page with Helmar and Faber Castell" by Lydell Quin. I used different products than she did but I followed the basic ideas and then put more details of my own. For the main image I created a She Art girl made famous by Christy Tomlinson and I wrote my own sentiment.
This page was first gessoed and then had many layers added of paints, inks, stencils, modelling paste, collage, markers, stamps, iridescent medium, mod podge, washi tape............ I'm not sure if I remembered everything but it sure is mixed media!

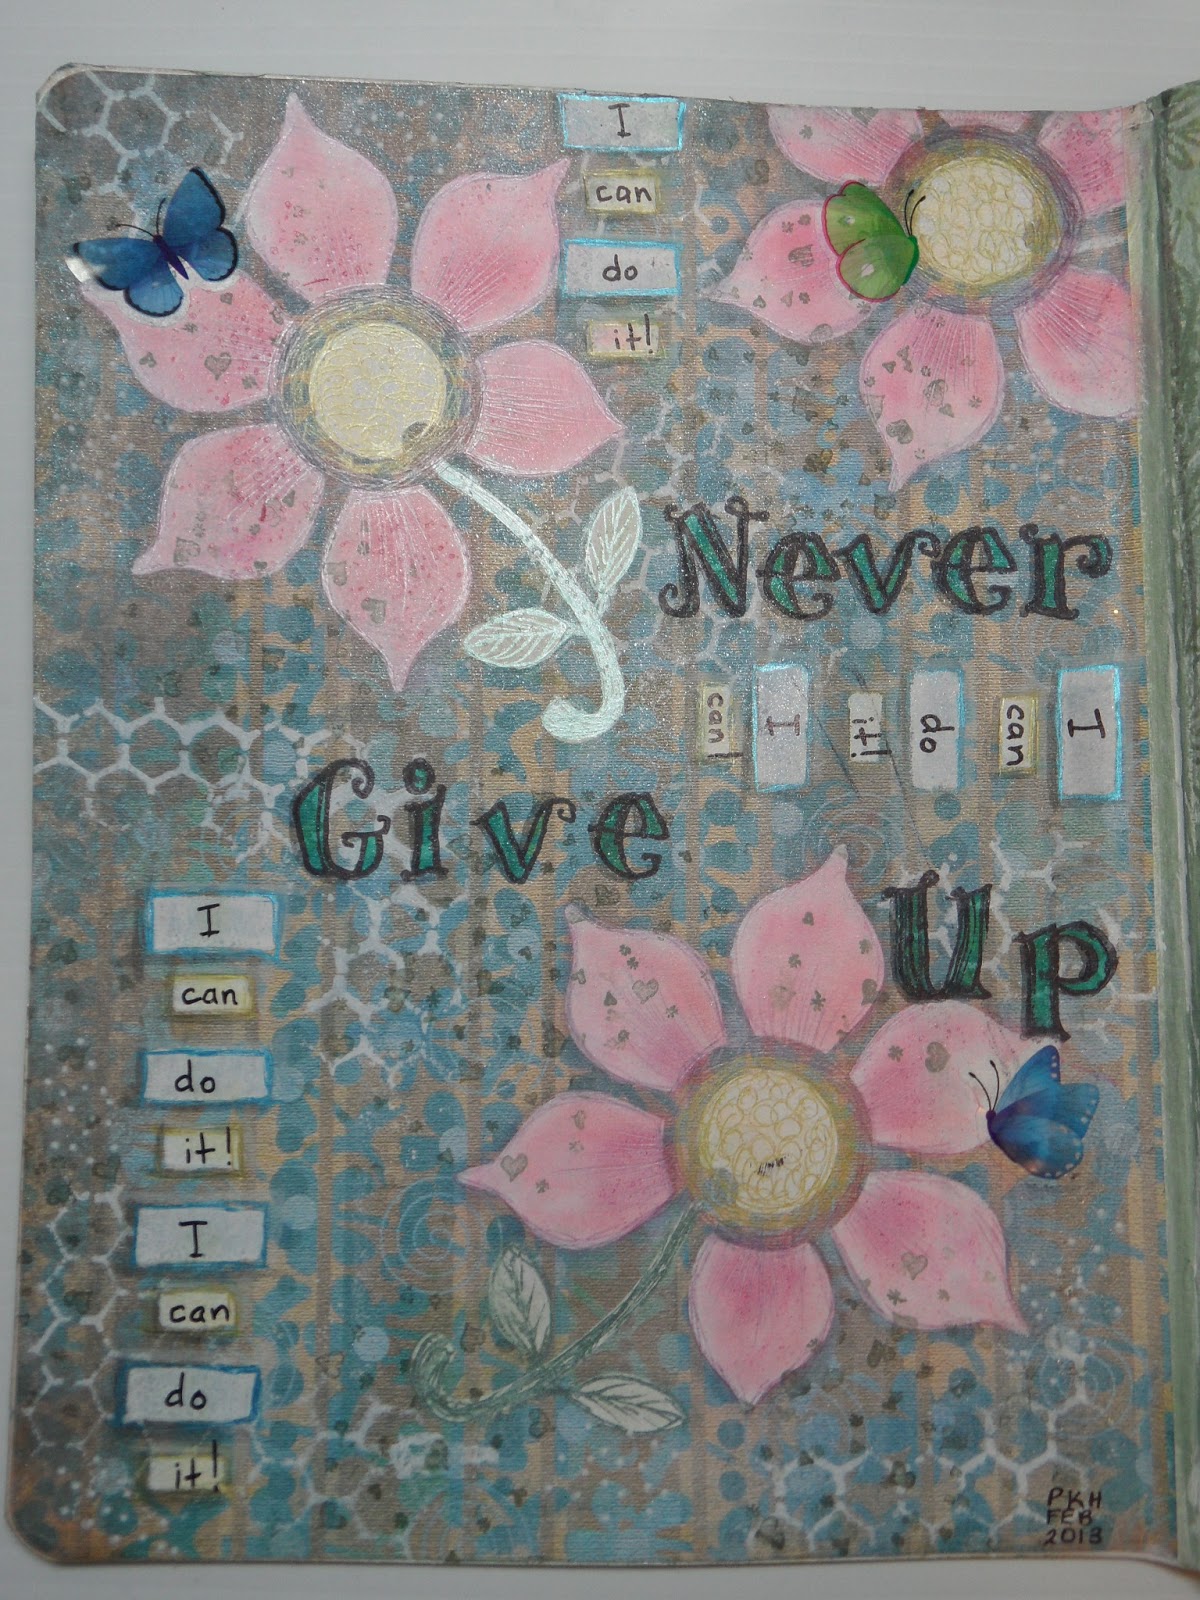
Here are close-ups of each page so that you can see more detail. If you click on any of these pictures you will see a larger view.


Enjoy your fun experiences!
Take care. :D

Thursday, February 21, 2013

Winter Thank You Card

The background for this card was stamped with silver and rich razzleberry inks for the snowflakes on sahara sand cardstock. The edges were sponged and then some silver pearls were added to some of the snowflakes.The sentiment piece was stamped on white cardstock with rich razzleberry ink and silver pearls were added. I also doodled a frame around the edges. I popped it up with pop dots.
Have a wonderful day! :D

Tuesday, February 19, 2013

Birthday Card - Gesso and Gelatos background

I tried a new technique for the background of this card. I applied gesso to a piece of cardstock, then laid another piece of cardstock on top of it while the gesso was still wet and smoothed it over with my hands. Then I pulled the two pieces of cardstock apart and that left a lot of interesting texture in the gesso. I let the gesso dry completely. Then I coloured two colours of gelatos over the surface of the gesso and blended it with a wet paint brush. When that was dry I stamped with metallic silver and black inks for the design.
I saw this idea on Trena's blog and I wanted to give it a try. Thanks Trena for the inspiration! :D

I stamped the envelope to match as well.


And I used some of the gesso-gelato paper for the inside of the card.


Take care! :D


Wednesday, February 13, 2013

Zentangle Inspired Art - Friends Forever

Hello Friends!
I made this card in response to a post on Monica's blog which is called Nana's Place. On Feb. 3 she made a post called Zentangle Meditation - Seek Comfort. (I would link this up for you if I knew how! If you know, please teach me! Thanks.)  She had been inspired by a friend who would tangle on a card every morning and give them as greeting cards. So I got out a set of mauve coloured cards I had in my stash and dry embossed a border on the top and bottom of the card front and then drew my design. I know I won't do one every morning, but it was fun to give it a try. Thanks to Monica for the inspiration and to the book "Zentangle Basics" by Suzanne McNeill for ideas.
Friends Forever! :D

Wednesday, February 6, 2013

Tree Art Journal - Color it Green


This is a page that I did in my Tree Art Journal. I painted the background and did some stamping with inks and paints, shading with gelatos, doodling with pens and paper piecing for the trees. The tops of each tree was made from 3 different sized circles of three different patterned papers that were put together and embossed in different embossing folders to give them texture. The title is a Stampscapes stamp and after I stamped it, I doodled around it to give it a frame.
This was a fun mixed media project. Why don't you give it a try and show me what you made? I'd love to see it. :D